 Quite often, gardeners are faced with the need to grow plants in greenhouses or greenhouses.
Large facilities are not very convenient, so we suggest that you familiarize yourself with the how to make a butterfly greenhouse do it yourself and design his size drawings.
Description and design features
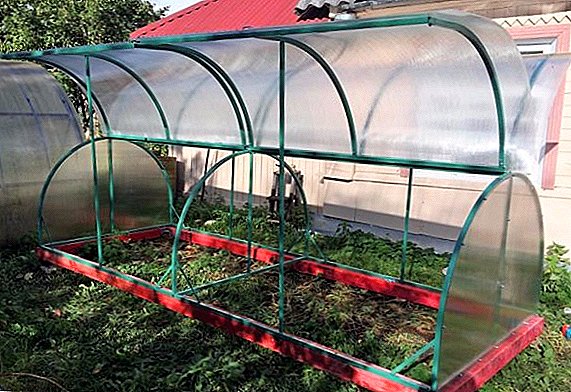
In the unfolded state, the design very much resembles a butterfly, which has spread its wings. A closed structure is like a cocoon, thanks to its sealing, it is possible to maintain the required temperature and humidity.
Important! If you plan to install a greenhouse in a lowland, it is imperative to build a foundation for it from wood or concrete, otherwise liquid will accumulate in the structure, which will lead to rotting of the plants.

Depending on the needs of the gardener, A greenhouse may have different sizes and configurations. The frame is usually made of plastic or metal-plastic profiles. Polycarbonate or polyethylene is preferably used as a coating. The main feature of the greenhouse is the rational use of the site. Thanks to the opening frames you can get free access to the plants.
Professional gardeners it is important to know how to build a greenhouse with their own hands.Also, the design is highly durable and can withstand strong gusts of wind and snowfall. The greenhouse has good ventilation, which is carried out using special vents. Doors are opened using shock absorbers, which significantly increases the life of the structure.
A greenhouse butterfly made of polycarbonate is able to retain heat, it is quite simple to make and assemble it yourself.
Its advantage is mobility - you can move the structure to any place. It can grow seedlings, melons and gourds, flowers and a variety of vegetables all year round. 
Required material and tools
If you decide to build a butterfly garden yourself, for this You will need the following materials:
- profiled tube 20x20, wall thickness 2 mm;
- hinges;
- drill;
- polycarbonate 3x2.1m;
- self-tapping screws;
- plastic caps;
- pens;
- the boards.
Did you know? One of the largest greenhouses in the world is the Eden facility, which is located in the UK, and was opened in 2001. The dimensions of the design are impressive - its area is about 22 thousand. m²

Besides Do not do without the following tools:
- hammer;
- pipe bender;
- welding machine;
- drill;
- knife.
Greenhouses are mainly used in our latitudes for growing seedlings of pepper, tomatoes, eggplants, flowers, cabbage and cucumbers.
Step by step instructions for making
If you want to create really quality construction then we suggest to get acquainted with the instruction for its production. 
Base and arcs
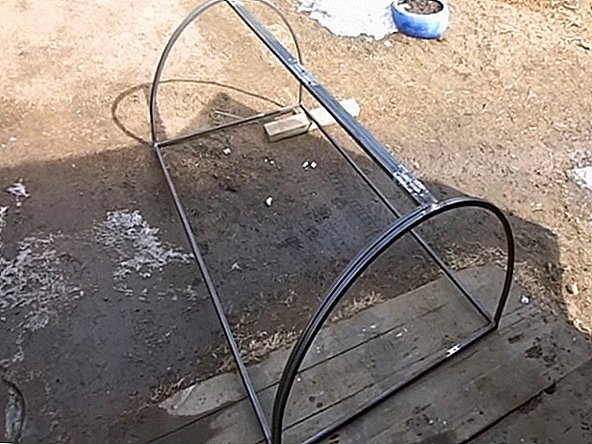
The first step is to make the base of the greenhouse. For this you will need a profile tube. It is necessary to cut off 2 strips with a length of 2 m and 2 - with a length of 1.16 m. Of them it is necessary to weld the base of the structure. 
In order to make arcs, 4 pipes 2 m long each are required. With the help of a pipe bender, they are bent so that their diameter is 1.12 m. After 4 arcs are made, 2 of them should be welded to the base.
Familiarize yourself with how to make arches for a greenhouse with your own hands and how to make greenhouses from arcs with a covering material.

Sash
The manufacture of the valves is as follows:
- First you need to install the upper jumper, welding it to the side arcs. To it with the help of hinges are attached pipes, which will be part of the valves.
- Then you need to take the remaining 2 arcs and cut them into half-arcs, which should be welded to the pipe, fixed with hinges to the jumper.
- A pipe is also welded to the bottom of the half-arc; a sash is obtained.

Sheathing
Next stage - sheathing designs. It consists of the following stages:
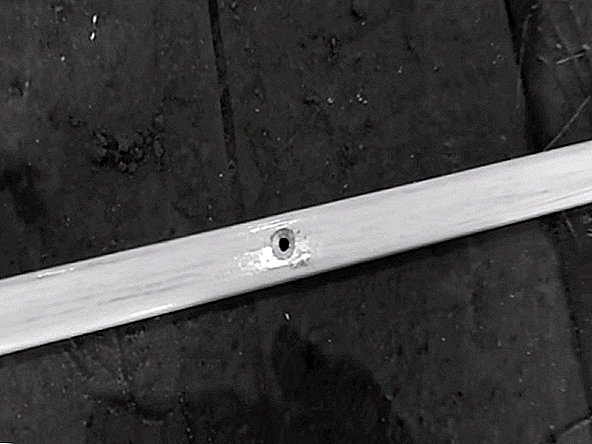
- The frame is drilled holes for mounting polycarbonate around the perimeter of the valves and on the base of the greenhouse.
- Semicircles are cut out of polycarbonate to seal the lateral parts of the structure.
- Self-tapping polycarbonate is attached to the frame.
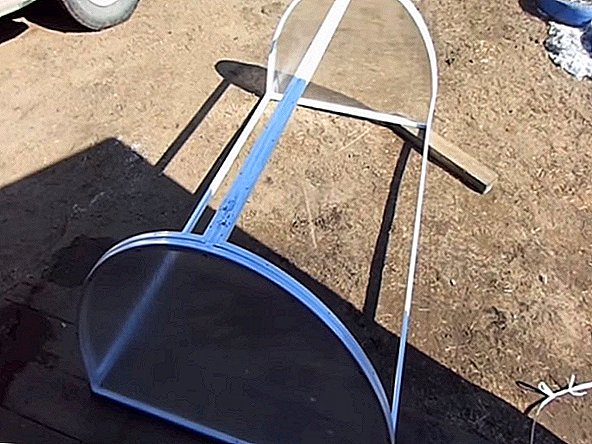
- Then cut the polycarbonate for the "wings" and in the same way attached to the frame.

- From the ends of the valves you need to install plastic plugs.
- Handles are attached to the "wings" to open a greenhouse.

Important! Before the onset of cold weather, it is imperative to wash the polycarbonate and disinfect the soil in the greenhouse using special means.The size of the finished butterfly greenhouse will be 2x1.16m.
Installation
To greenhouse confidently stood in place, you must install it on a wooden frame. To do this, cut out boards from boards 2 m long and 1.16 m long (2 pieces each), connect them. Then the greenhouse itself is installed and mounted on a wooden base. Now you can transfer it to any area and start growing plants.
Read how to make a greenhouse "Breadbox" and "Snowdrop" on your own with your own hands.
Butterfly greenhouse: advantages and disadvantages
This design has many advantages:
- Allows you to efficiently use the area.
- Working with landings is very convenient.
- Ventilation is possible.
- Convenient opening thanks to shock absorbers.
- High structural strength.
- Easy assembly.
- Low manufacturing costs.
- Long service life.
- Easy to care.

The disadvantages of the butterfly greenhouse include:
- poor quality factory processing holes;
- poor paint coating frame;
- weak hinges.
Did you know? For the first time greenhouses began to be used in ancient Rome. Then they looked like special caps to protect the crops grown from external weather conditions.After reading the article, you learned how to make a greenhouse butterfly with his own hands. A little time, money and the desire to improve the site - and you can grow your favorite plants throughout the year.


